# Theater Seating Overview
> Source: https://support.donorview.com/theater-seating-overview | Updated: 2026-06-24T15:47:11Z
Theater seating is a special feature that allows you to add a venue seating chart to your event. Your constituents can select the specific seats they wish to purchase from a graphical representation of your venue. The seating charts feature is not automatically activated, you must request this during implementation or by sending a request to support@donorview.com.
With theater seating activated, you can sell individual seats or create subscriptions for your events, which works similar to a gift card. The subscription pass allows the purchaser to select their seats, then enter the code number from their subscription pass to complete the transaction.
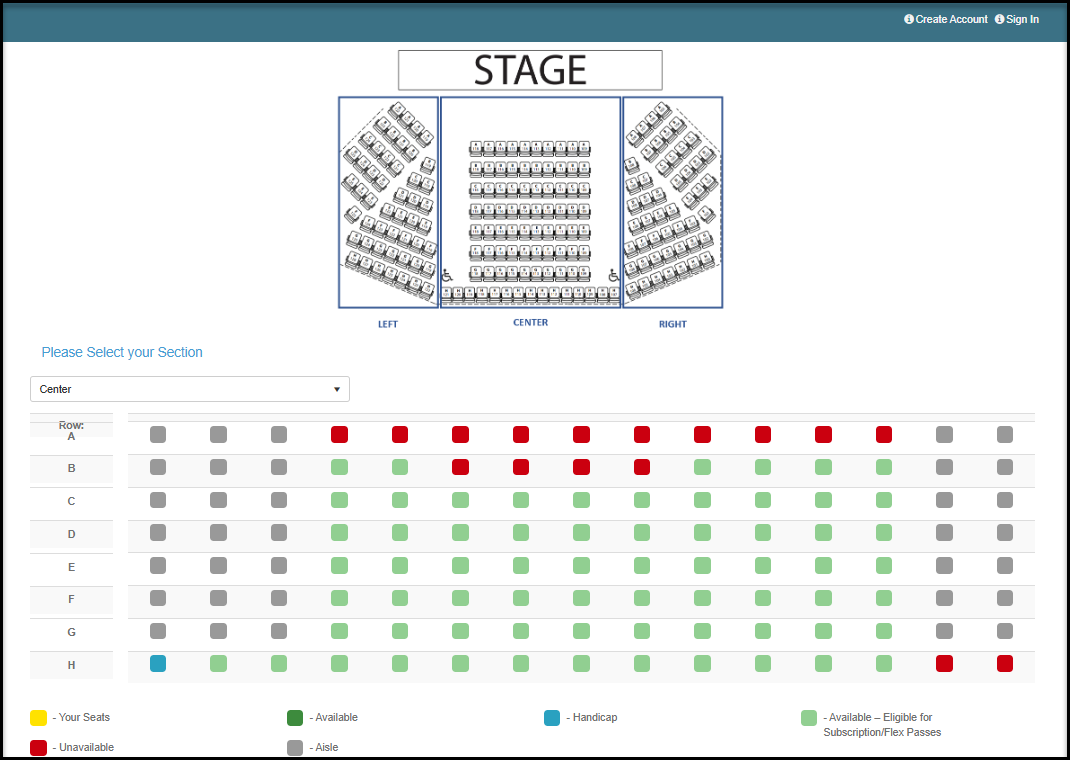
 You seat map will be converted into an Excel spreadsheet with each seat assigned a Section, Row, and Seat Number. An example event page using theater seating is shown below. The constituent will select their preferred section and then see the color-coded seat options available.
 Using a seating chart requires several steps including:
1. Creating a representation of your seating chart in a map showing all the available and unavailable spaces based on the row with the most seats in each section.
Using a seating chart requires several steps including:
1. Creating a representation of your seating chart in a map showing all the available and unavailable spaces based on the row with the most seats in each section.
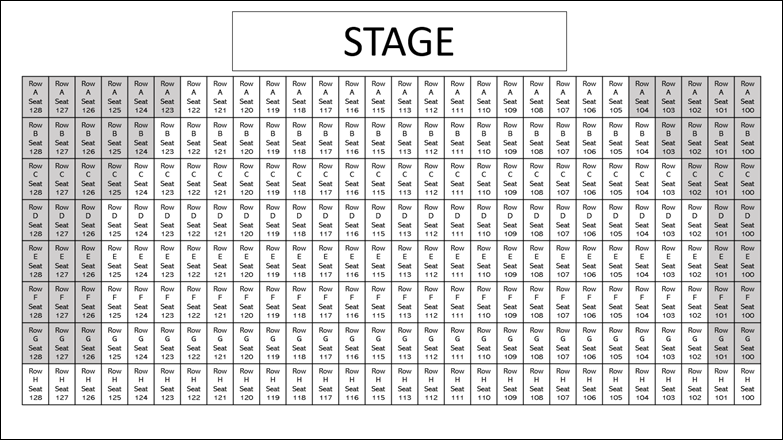 2. Converting this to an Excel spreadsheet identifying every section, row, seat that is available and the spaces that are unavailable, like isles, columns, or other obstructions.
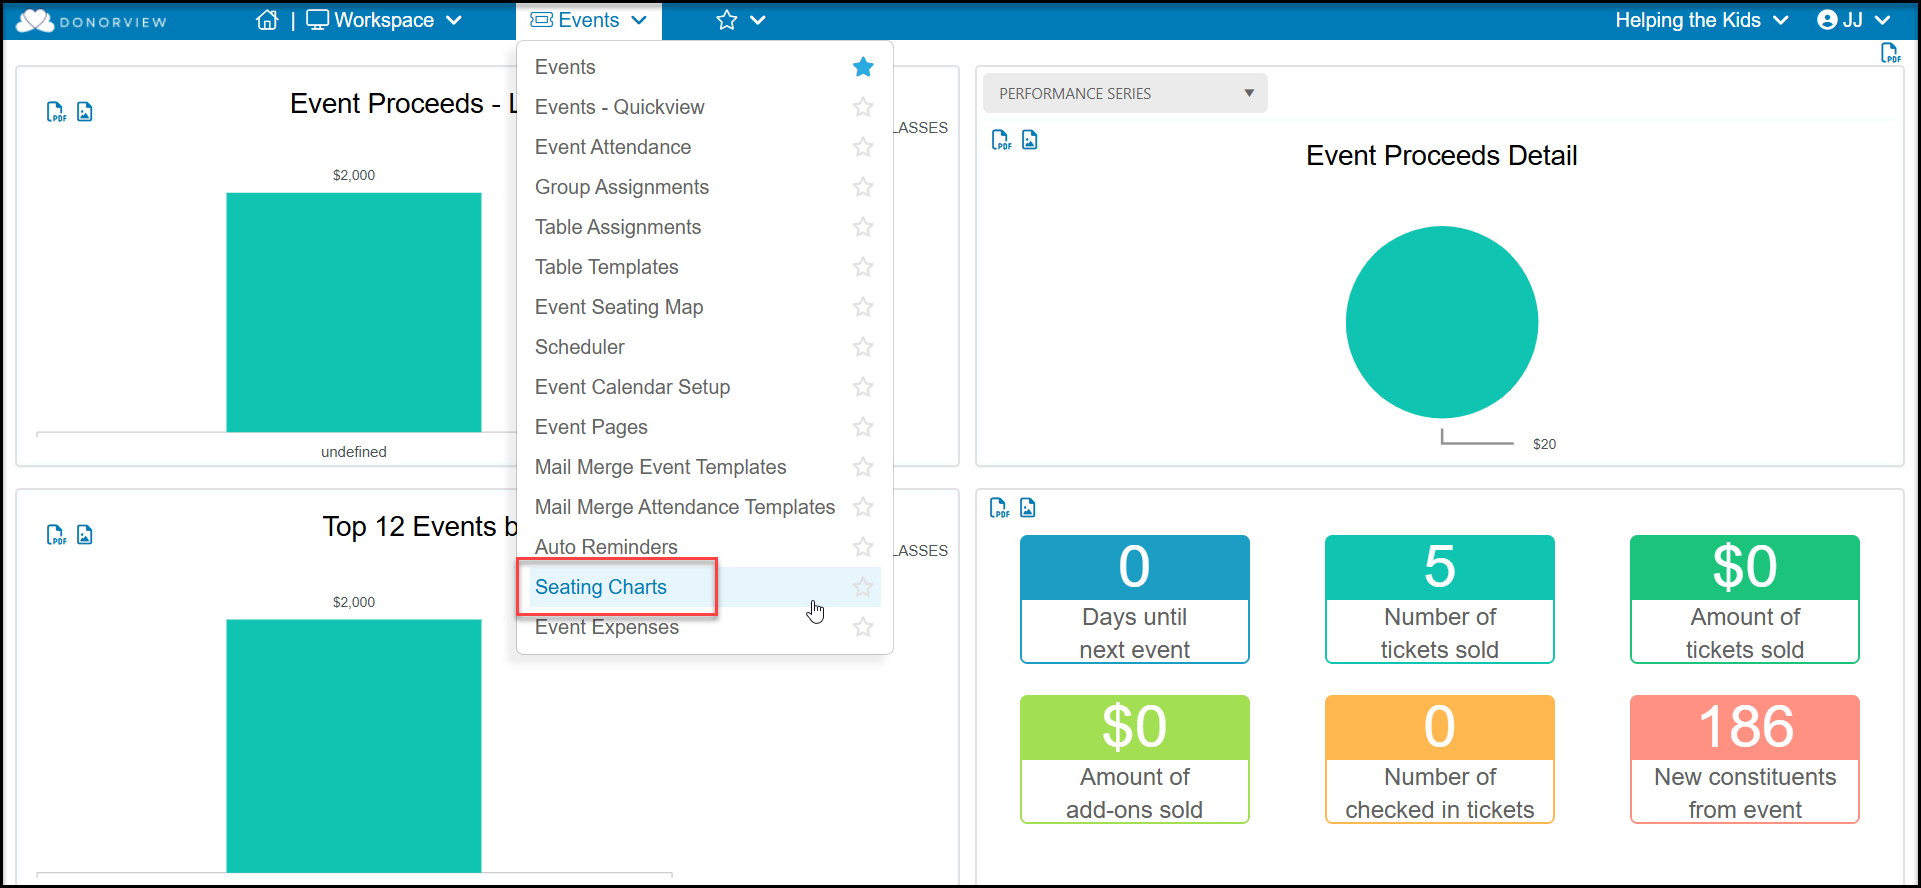
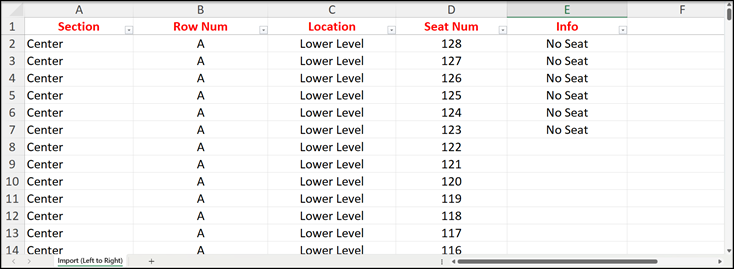 3. The seating chart in the Excel spreadsheet is uploaded into DonorView in the Seating Charts page.
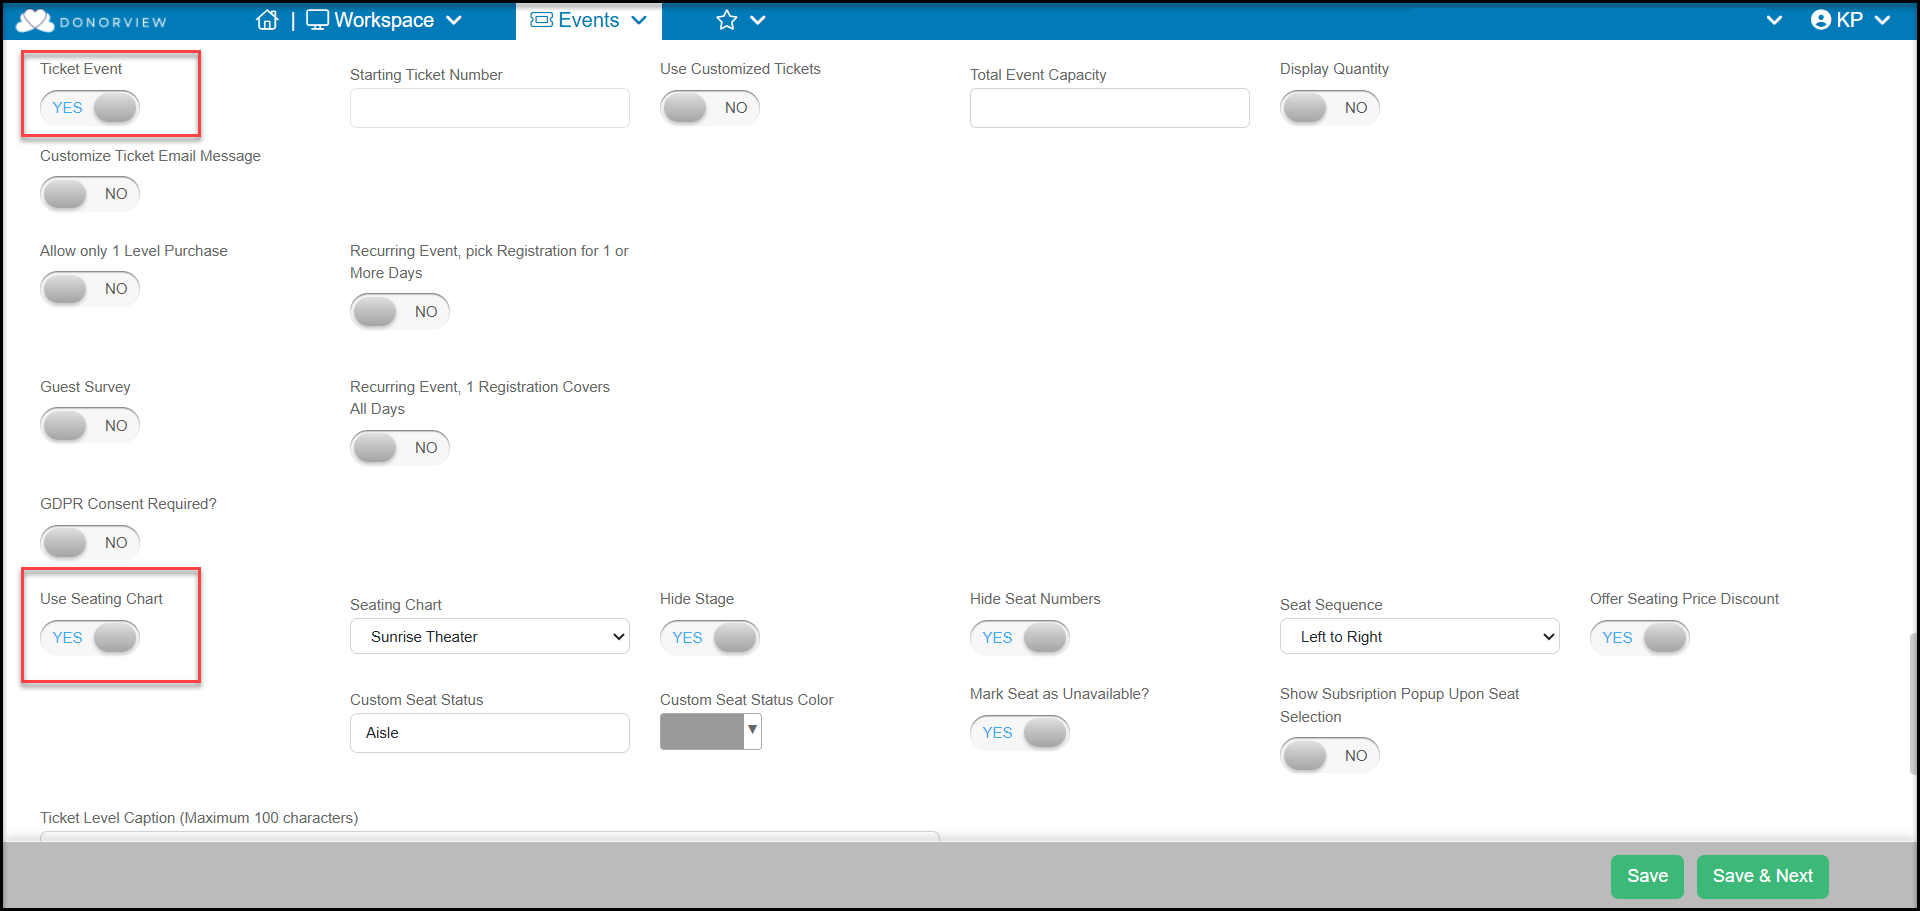
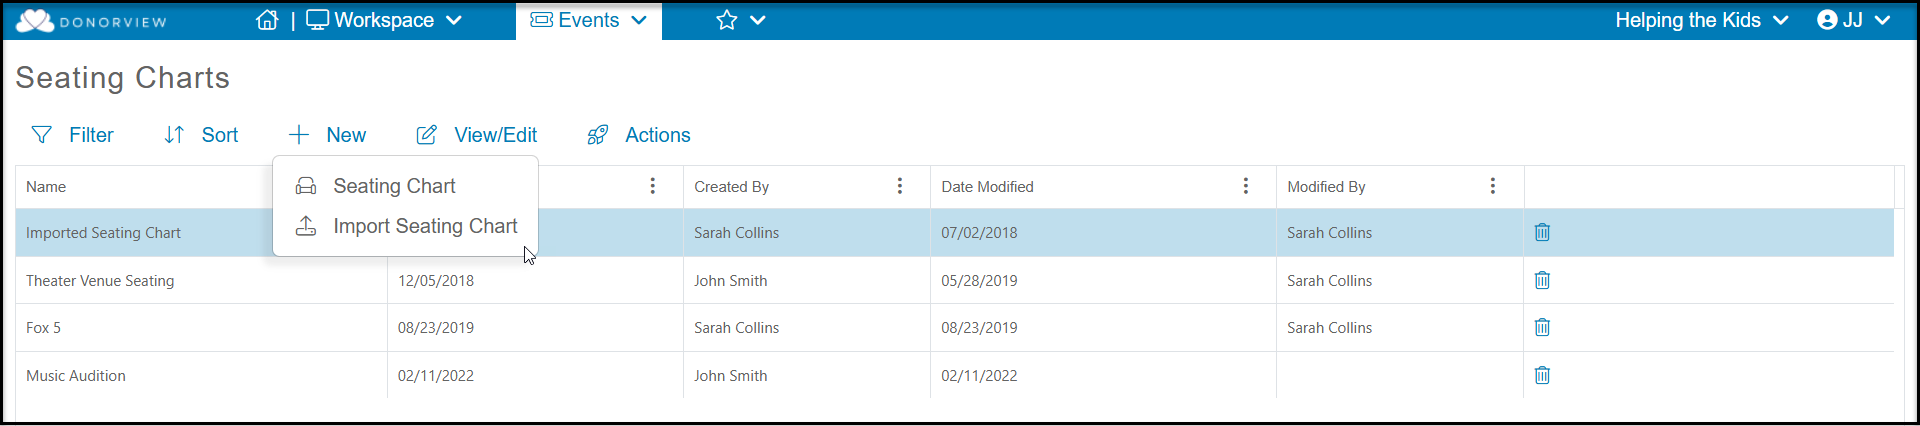 4. Once the chart is uploaded, it can be used for any single-day event where ticketing and the seating chart feature is activated on the Event Settings tab. Theater seating cannot be activated for a recurring event, so each performance will require its own event page.
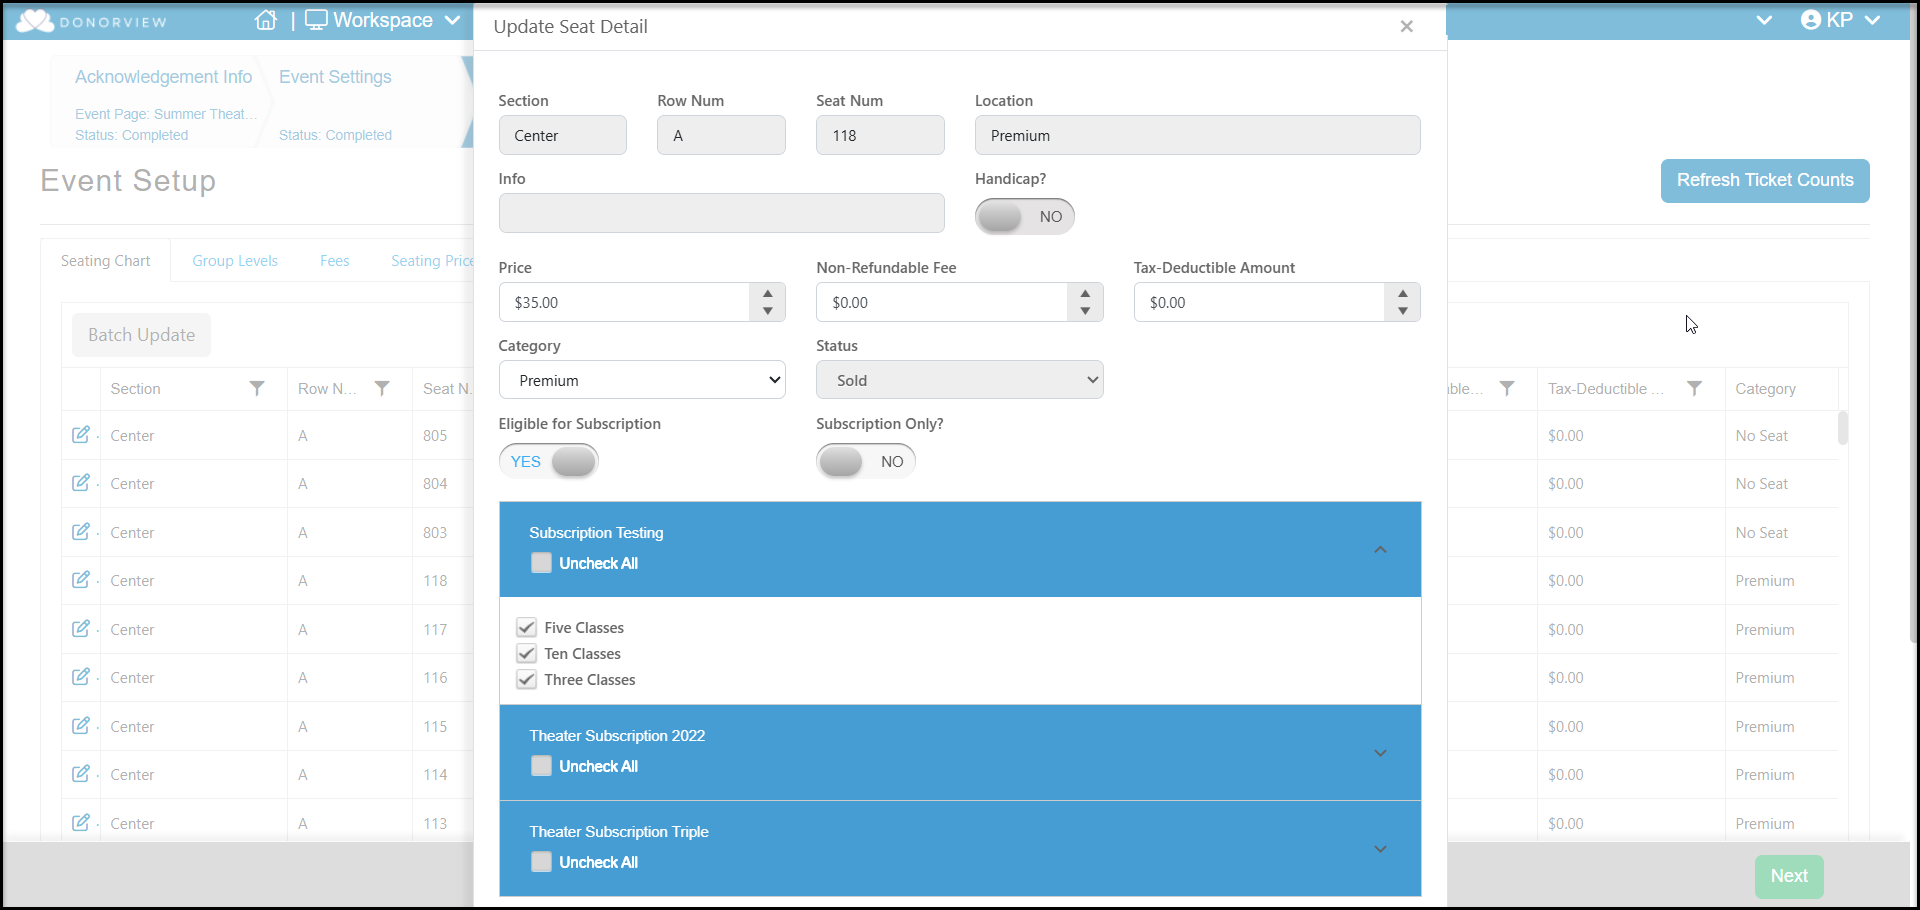
 5. When the seating chart is attached to the event page, the Event Set Up step will allow you to assign pricing to the various ticket levels and use features like subscriptions and discounts. This can be done individually for each seat or in batches by adding filters to the columns to identify groups of seats.
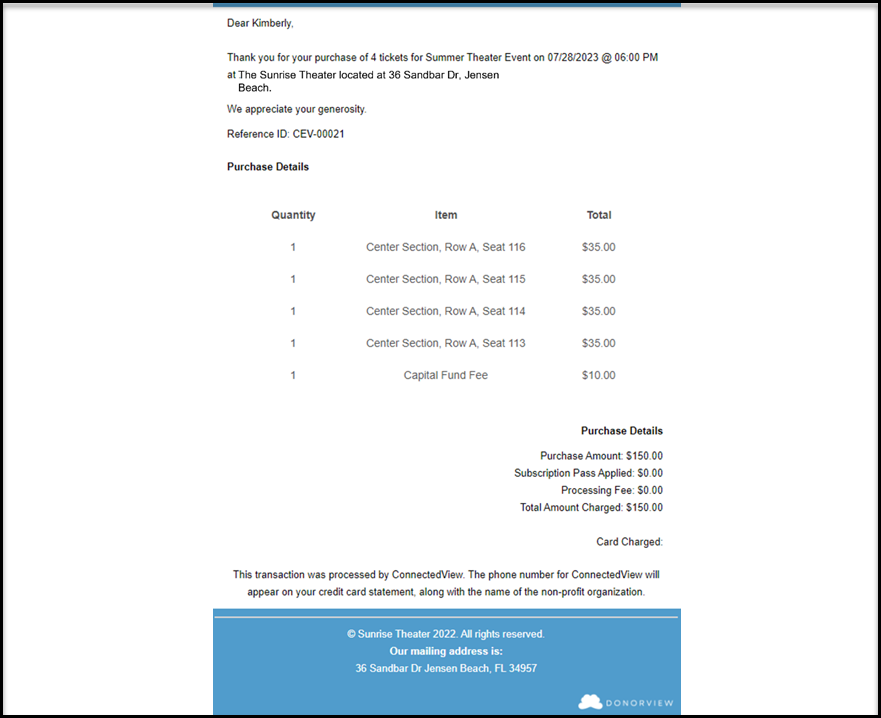
 6. The purchaser will receive two emails, one to confirm the transaction and a second with their tickets attached. The purchaser will also have the option to save the tickets into the Apple or Google wallet.