
Portal Features for Events
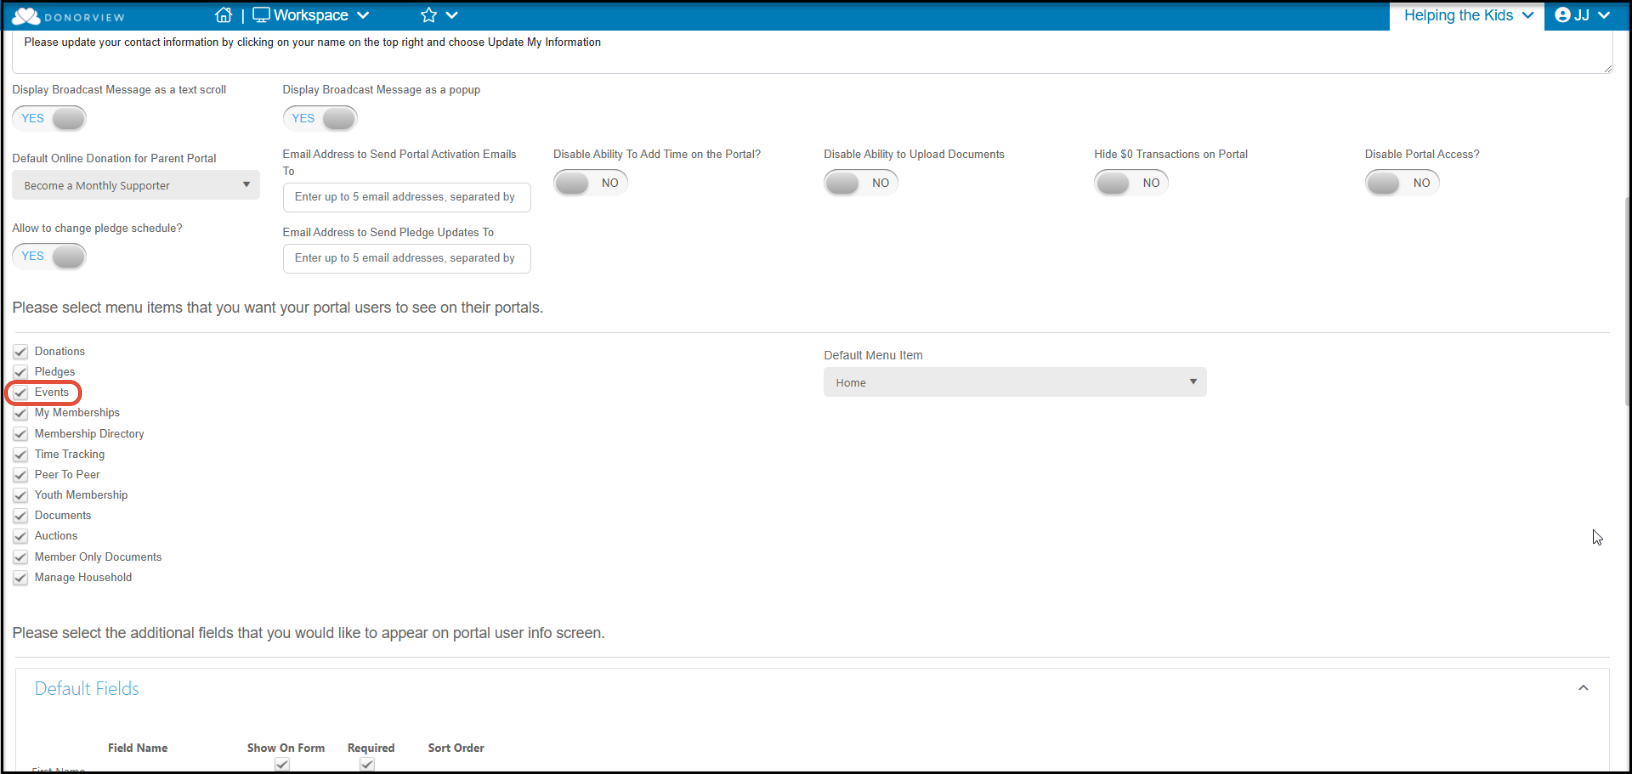
If you have the advanced portal activated and you have selected Events in the list of options available for the portal, your constituents can manage their event registrations.
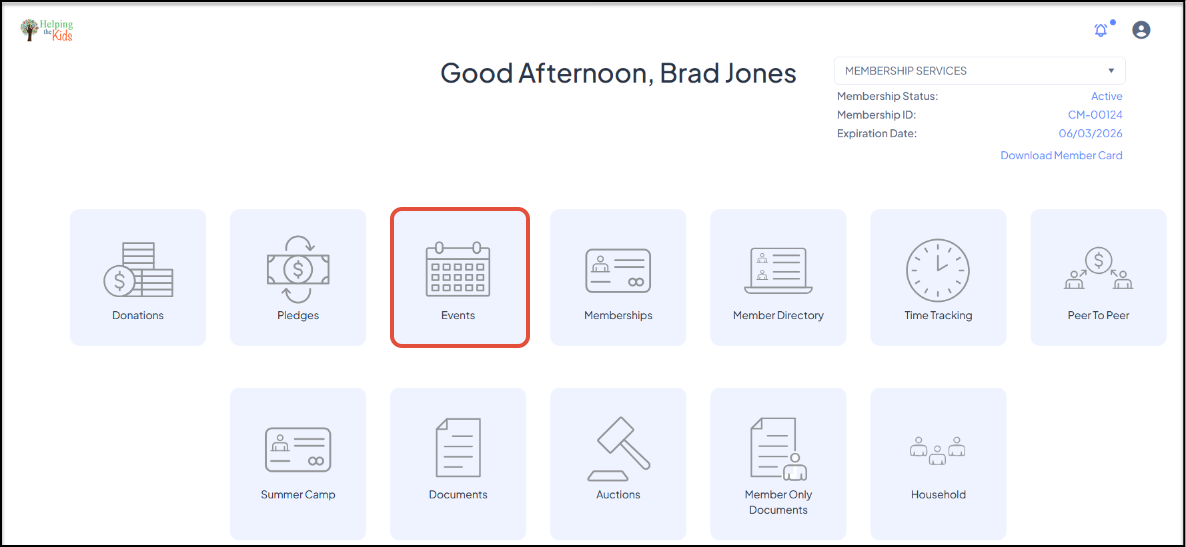
After logging into the portal, the constituent can click on the Events icon to launch this feature.
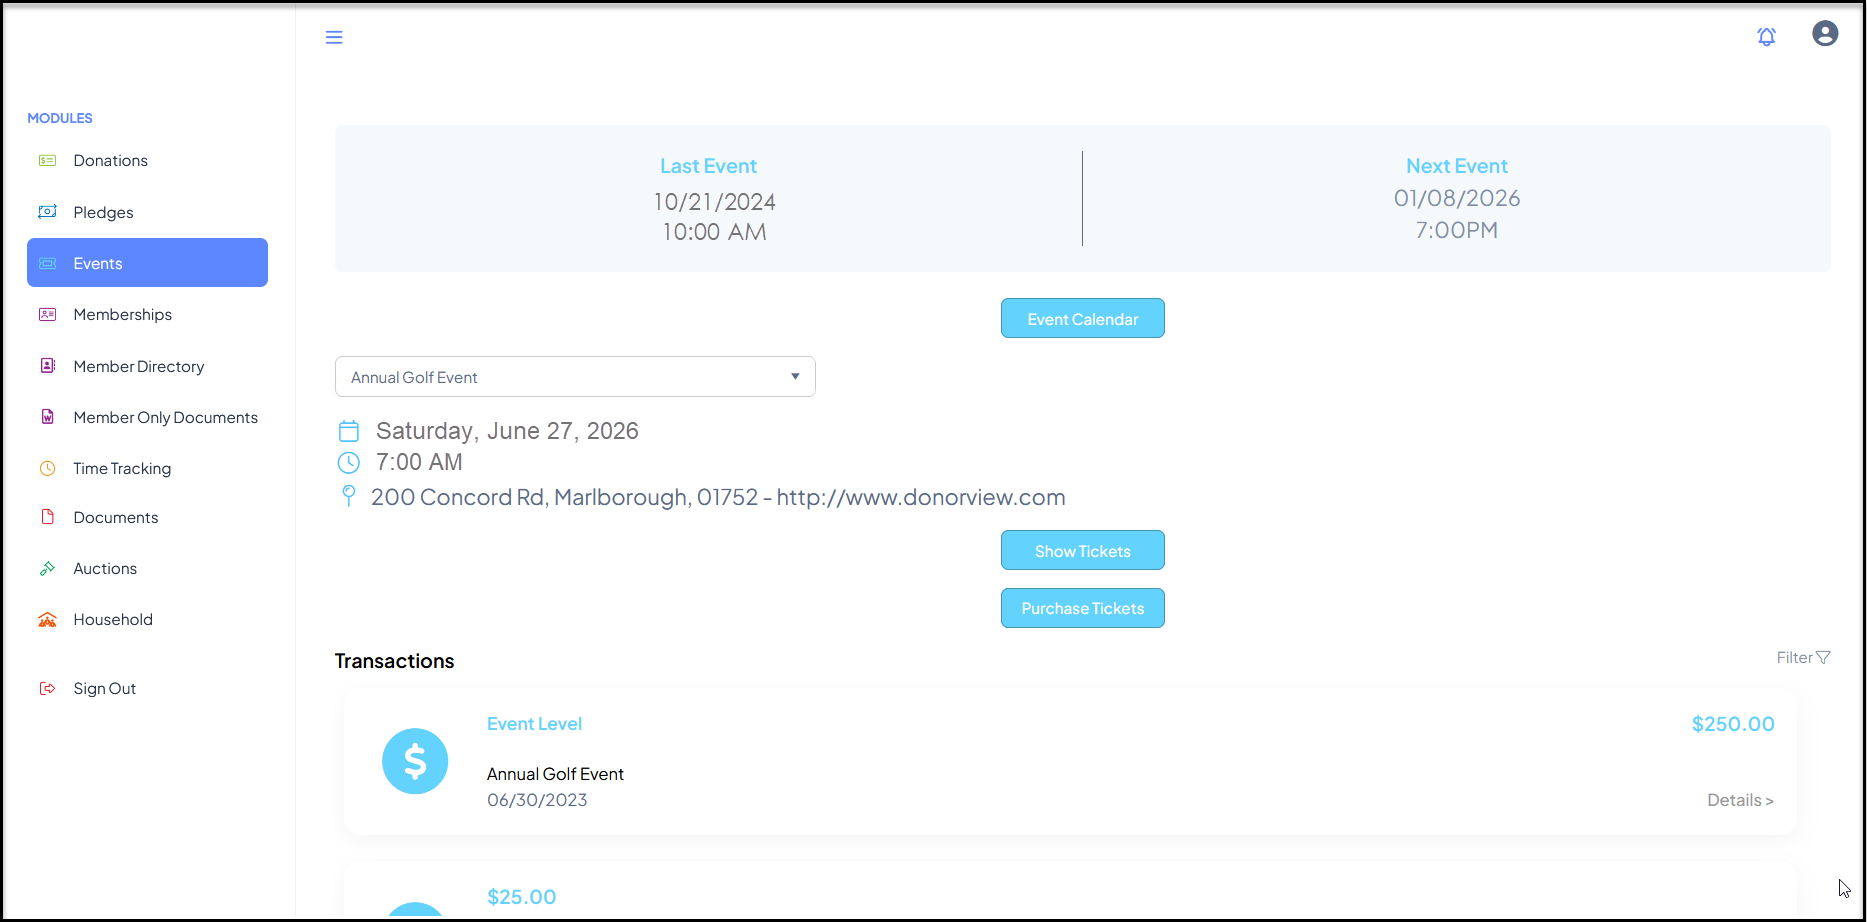
Your constituents can:
- See the date and time of the last event they were marked as “attended.”
- See the date of the next upcoming event.
- View the Event Calendar with the blue button. This will launch the calendar and let them see upcoming events and click the links to register for the events. Clicking the link with launch the event page and will auto-populate their contact information in the registration information area at the bottom of the page.
- Using the dropdown menu, they can see a list of all upcoming events, and those they have registered for will include (Purchased) next to the name of the event.
- For an event selected, they can see the date, time, and location information.
- If they have purchased tickets, they can click on the Show Tickets button to save or print copies of their tickets.
- The Purchase Tickets button will open the event page and allow the constituent to purchase tickets to the selected event.
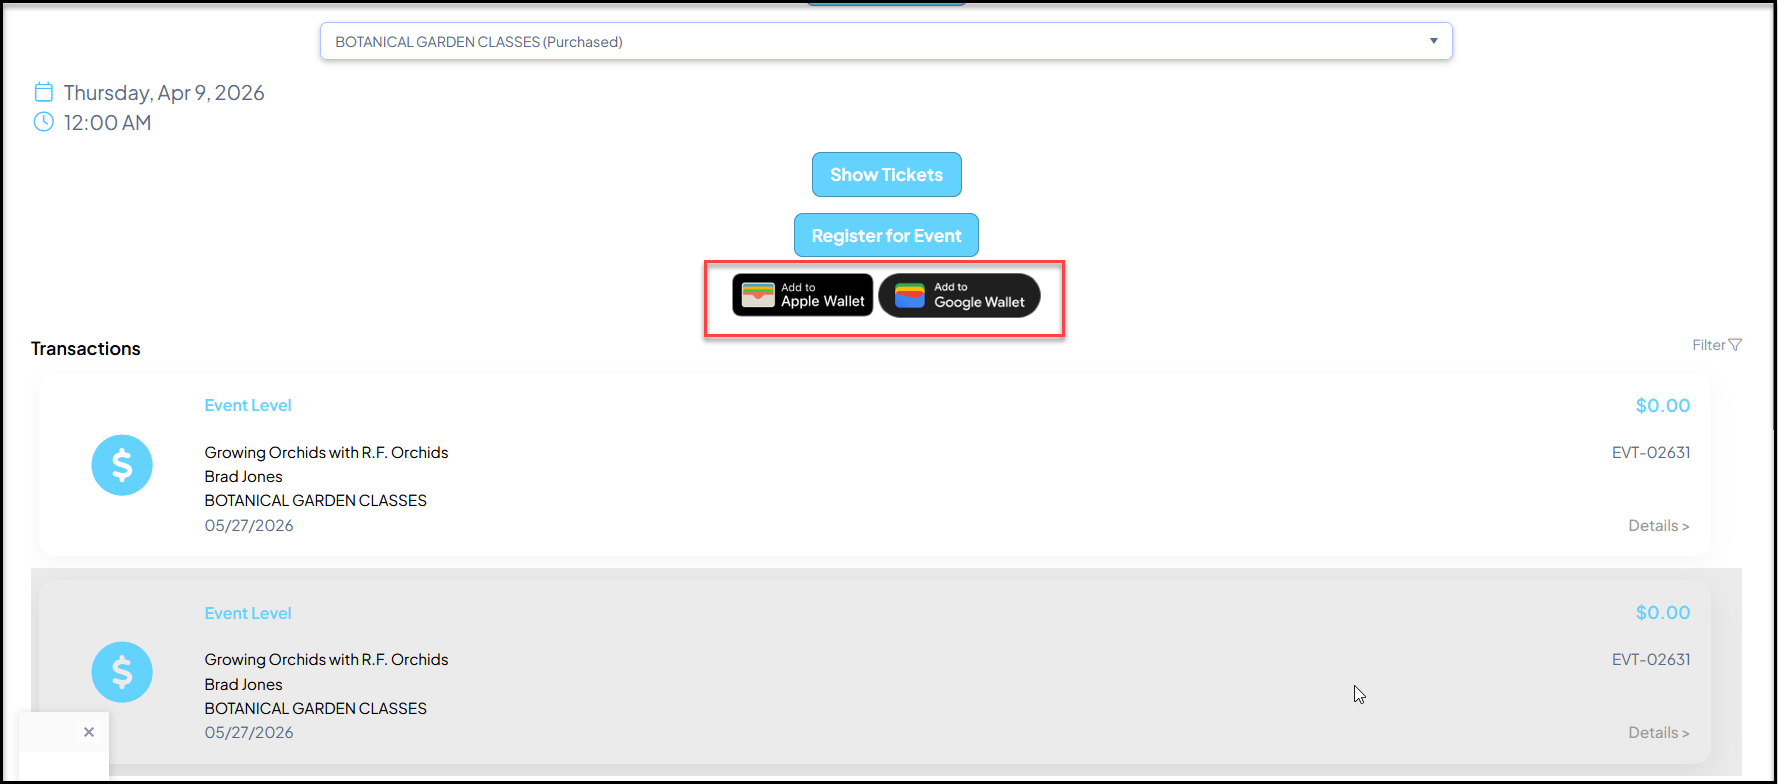
If the event was setup with digital tickets, the registrant can also save the tickets to their Apple or Google Wallet.
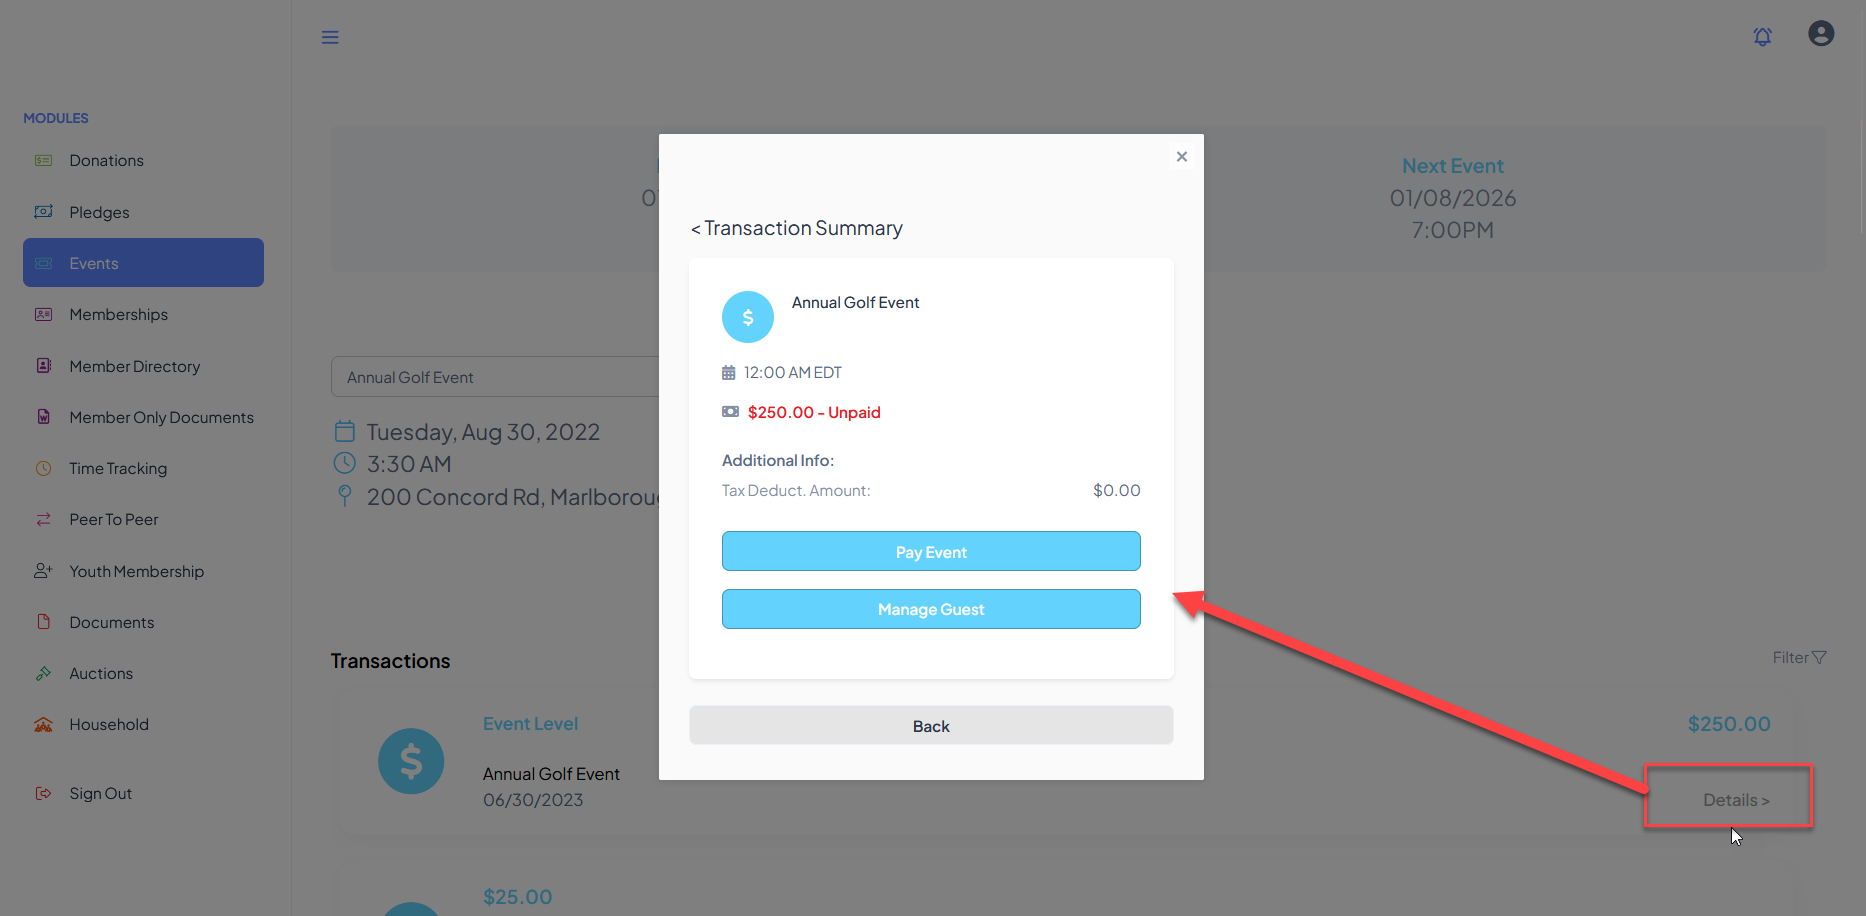
For events in which they have registered, they can click the Details button under the ticket price on the right side of the page. They can click Pay Event to pay for outstanding balances or Manage Guest and update guest information for this ticket level as needed. Clicking on Back will return them to the event summary page.
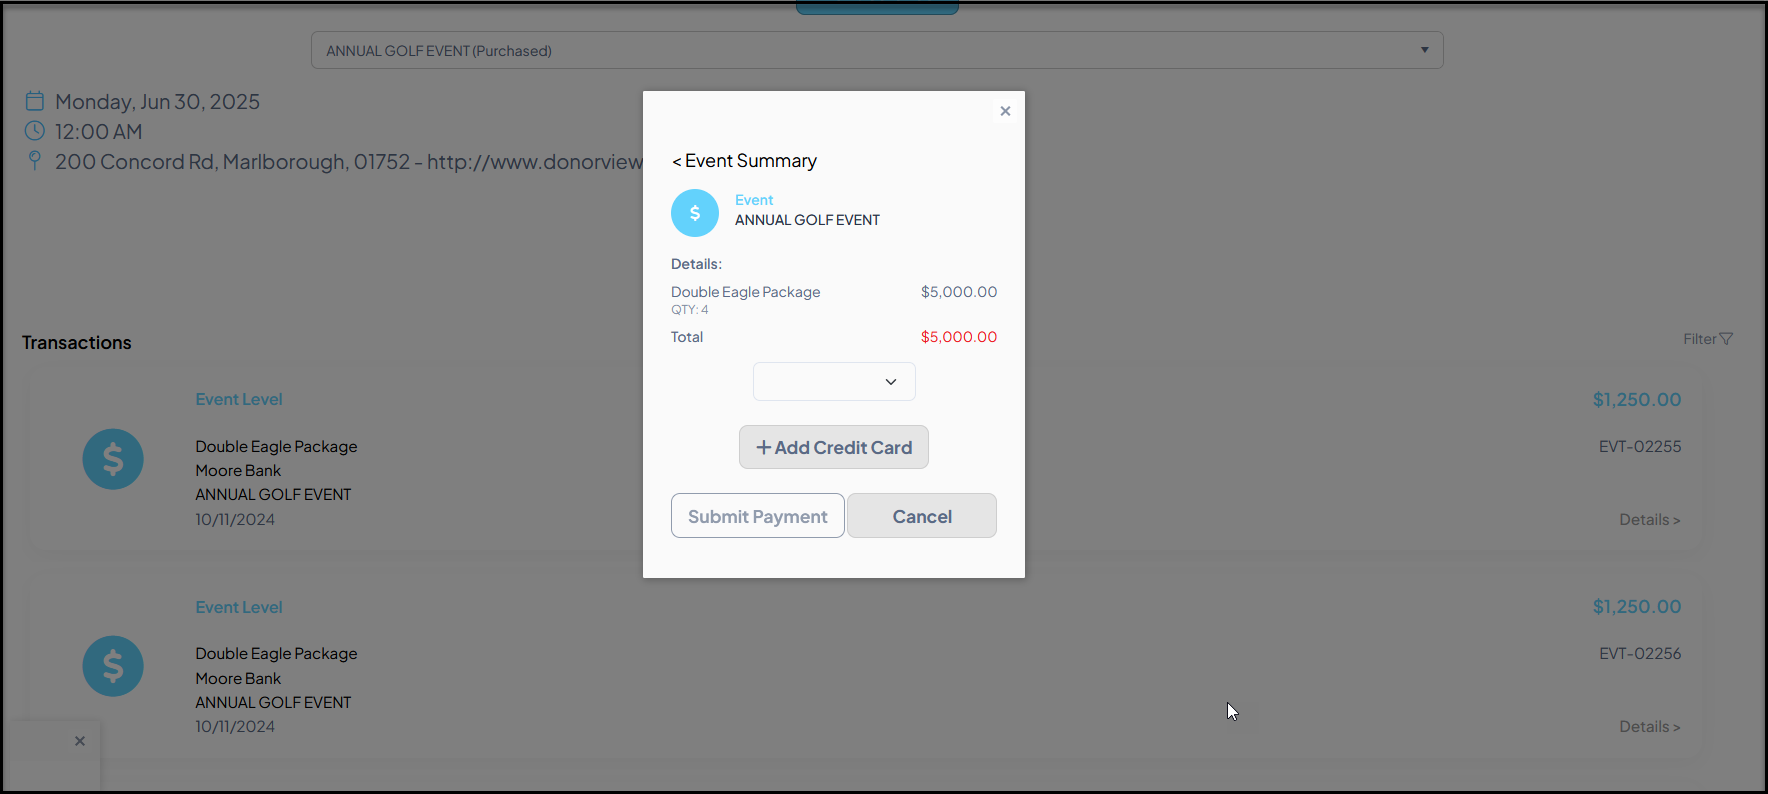
When clicking on Pay Event a new window will open where the registrant can select a credit card on file from the dropdown menu or click on +Add Credit Card to add a new credit card to their Payment Options. Once the new card is added, they can return to the Events icon and select the card. Clicking on Submit Payment will process the payment. The registrant can also select Cancel to return to the previous page.
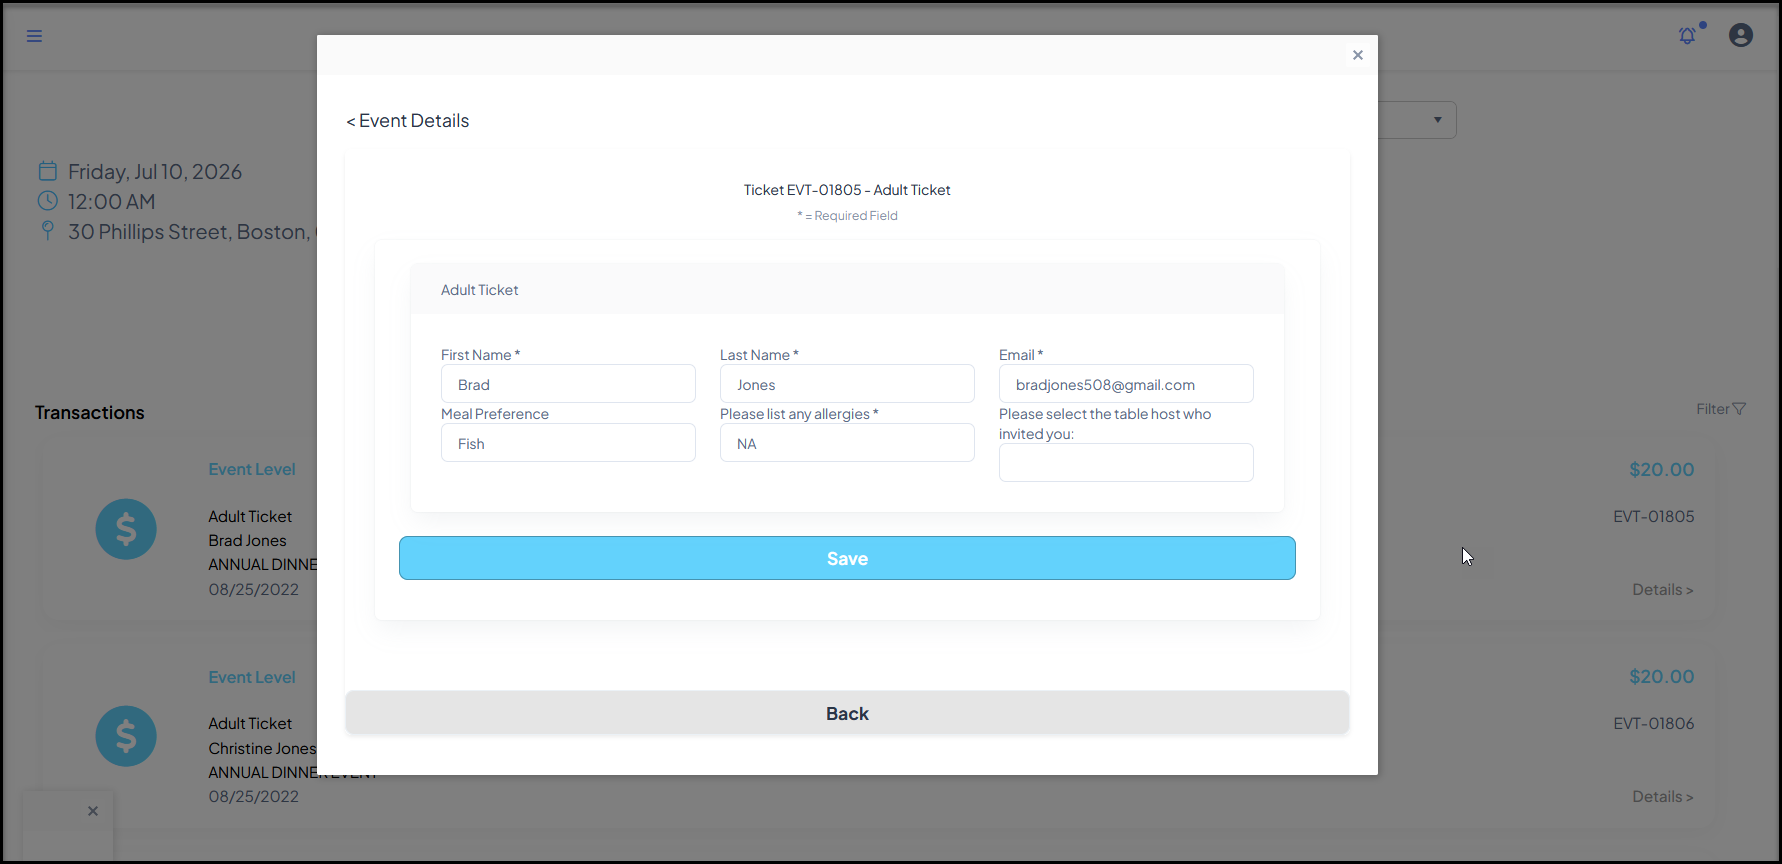
When clicking on Manage Guest, a new window will open to update the name and email address of the guest and any Attendee Info fields that were included in the registration. Note that each guest should have a unique email address. This step will be repeated for each ticket registration. Click Save to save the changes or Back to go to the previous window without saving changes.
The user can navigate to another module using the links on the left menu or go to the homepage by clicking on the organization's logo in the top left corner.