
You can also select from the Views library and choose a standard Default View or other view from the list by clicking on the name. This will auto-select the columns and any filters or sorts that were designed with that view. The Default Views will not have any filters or sorts applied, so they will show all data.

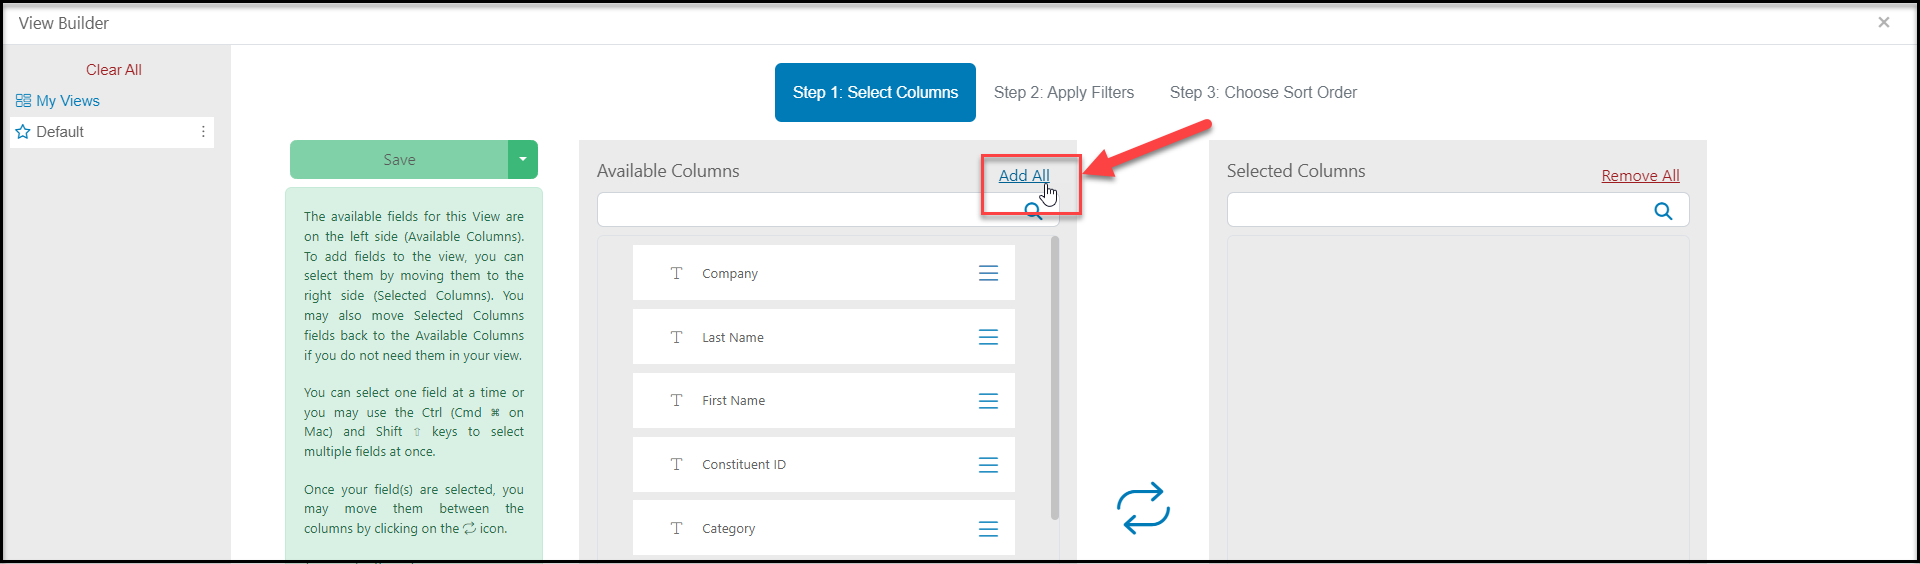
The Selected Columns will be those columns that will now be included in your default view. You can rearrange these columns into the order that you prefer. You can learn more about customizing your views in this article: https://support.donorview.com/en/support/solutions/articles/9000230180-creating-a-view-with-the-view-builder
With your columns selected, you can save this default view two ways. First, you can click on the green Save button, and click Save View As.

This will open a new dialog box to allow you to save this default view with whatever name you would like. When you have entered the name click the Save button to save your new default view. You will still need to click on the small "x" in the upper right hand corner to close the View Builder and return to the grid.

If you are OK with the name "Default" you can go straight to the small "x" and click on it. A new window will open asking you to confirm the changes. When you click Save here the default view will be saved with the name "Default."
