# How do I create a Permission?
> Source: https://support.donorview.com/how-do-i-create-a-permission | Updated: 2025-06-24T17:08:20Z
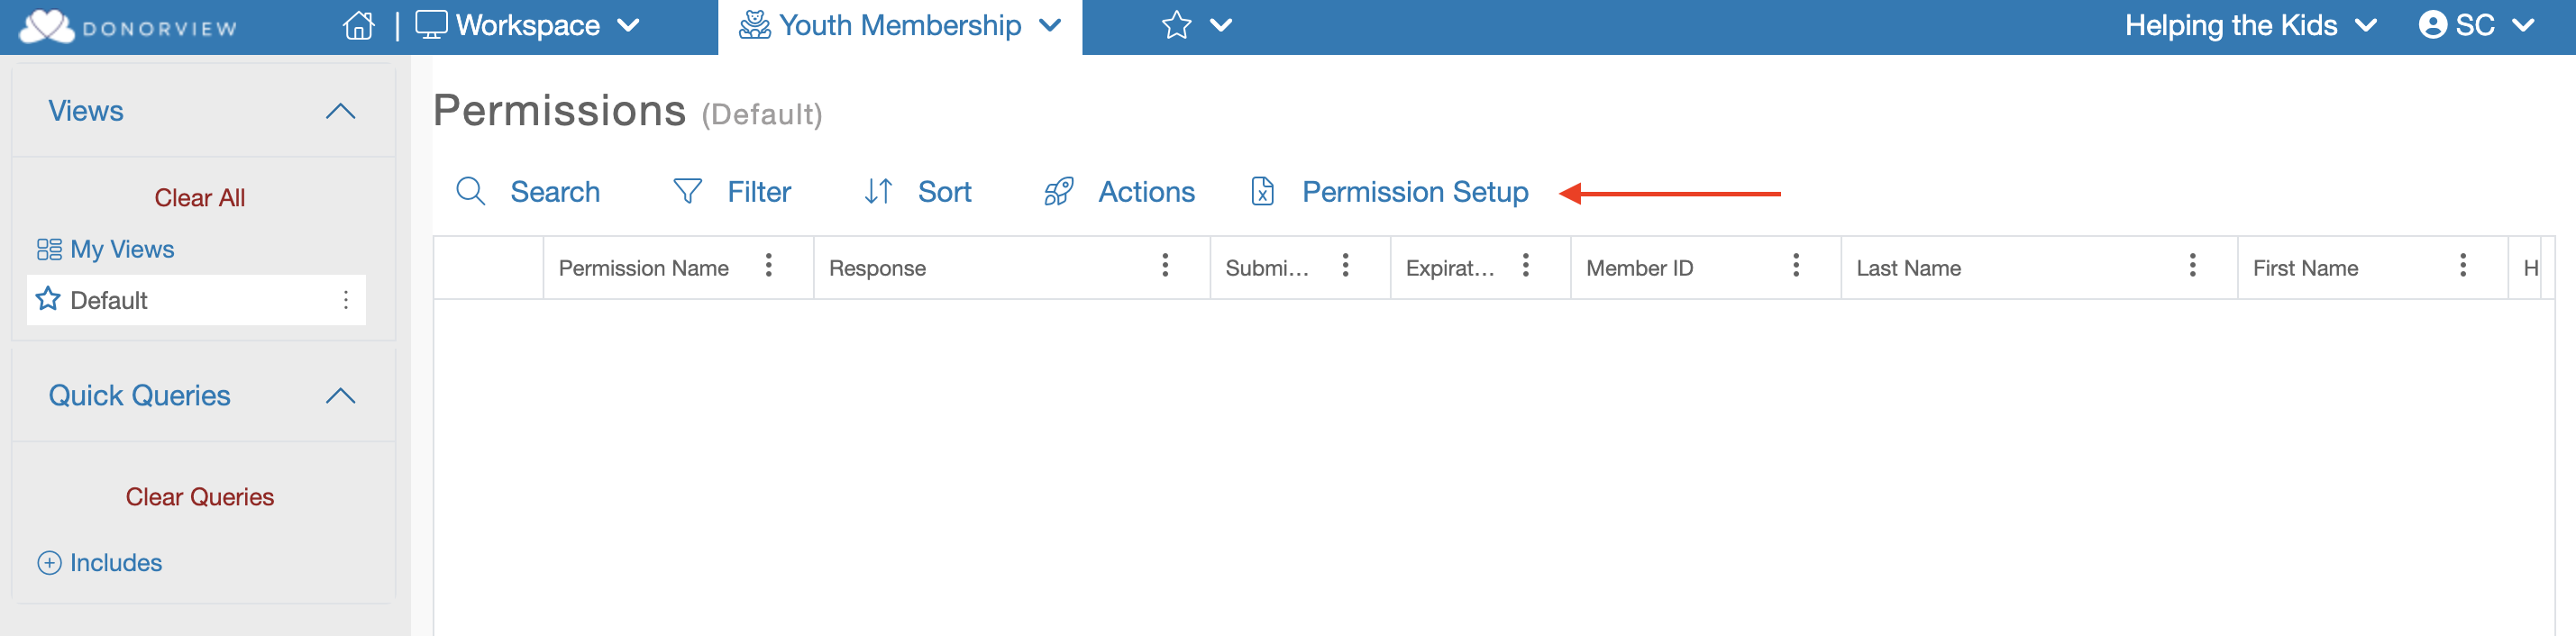
To manage permissions for Youth Members, go to the **Youth Membership** menu and select **Permissions**. This will take you to the **Permissions Grid**, where all submitted responses from parents or guardians are displayed. In the upper-right corner above the grid, click the **"Permission Setup"** button.
 The **Permission Setup Grid** will open, displaying all current and past permissions. If this is your first time visiting the page, the grid will be empty.
To create a new permission, click the gray **"+ Add Permission"** button. A dialog window will appear where you can configure the following fields:
- **Sort Order** – Determines the order permissions appear. Lower numbers appear higher in the list.
- **Name** – Enter a title for the permission.
- **Description** – Provide the text that describes the permission and outlines what consent is being requested.
- **Require Acknowledgement** – Set to Yes, if a response is required before the parent/guardian can proceed.
- **Expiration Date** – Set a date after which the permission will no longer be shown. Past-dated permissions will be hidden from the Parent Portal.
- **Inactive** – Set to **Yes** to manually deactivate the permission and hide it from the Parent Portal.
- **Require Signature** – Set to Yes, if a signature (typed or drawn) is required along with the response.
- **Allow Document Upload** – Set to Yes, to allow the parent/guardian to upload a supporting document.
- **Specify Document Category (Optional)** – Choose a category to automatically assign to any uploaded document.
The **Permission Setup Grid** will open, displaying all current and past permissions. If this is your first time visiting the page, the grid will be empty.
To create a new permission, click the gray **"+ Add Permission"** button. A dialog window will appear where you can configure the following fields:
- **Sort Order** – Determines the order permissions appear. Lower numbers appear higher in the list.
- **Name** – Enter a title for the permission.
- **Description** – Provide the text that describes the permission and outlines what consent is being requested.
- **Require Acknowledgement** – Set to Yes, if a response is required before the parent/guardian can proceed.
- **Expiration Date** – Set a date after which the permission will no longer be shown. Past-dated permissions will be hidden from the Parent Portal.
- **Inactive** – Set to **Yes** to manually deactivate the permission and hide it from the Parent Portal.
- **Require Signature** – Set to Yes, if a signature (typed or drawn) is required along with the response.
- **Allow Document Upload** – Set to Yes, to allow the parent/guardian to upload a supporting document.
- **Specify Document Category (Optional)** – Choose a category to automatically assign to any uploaded document.
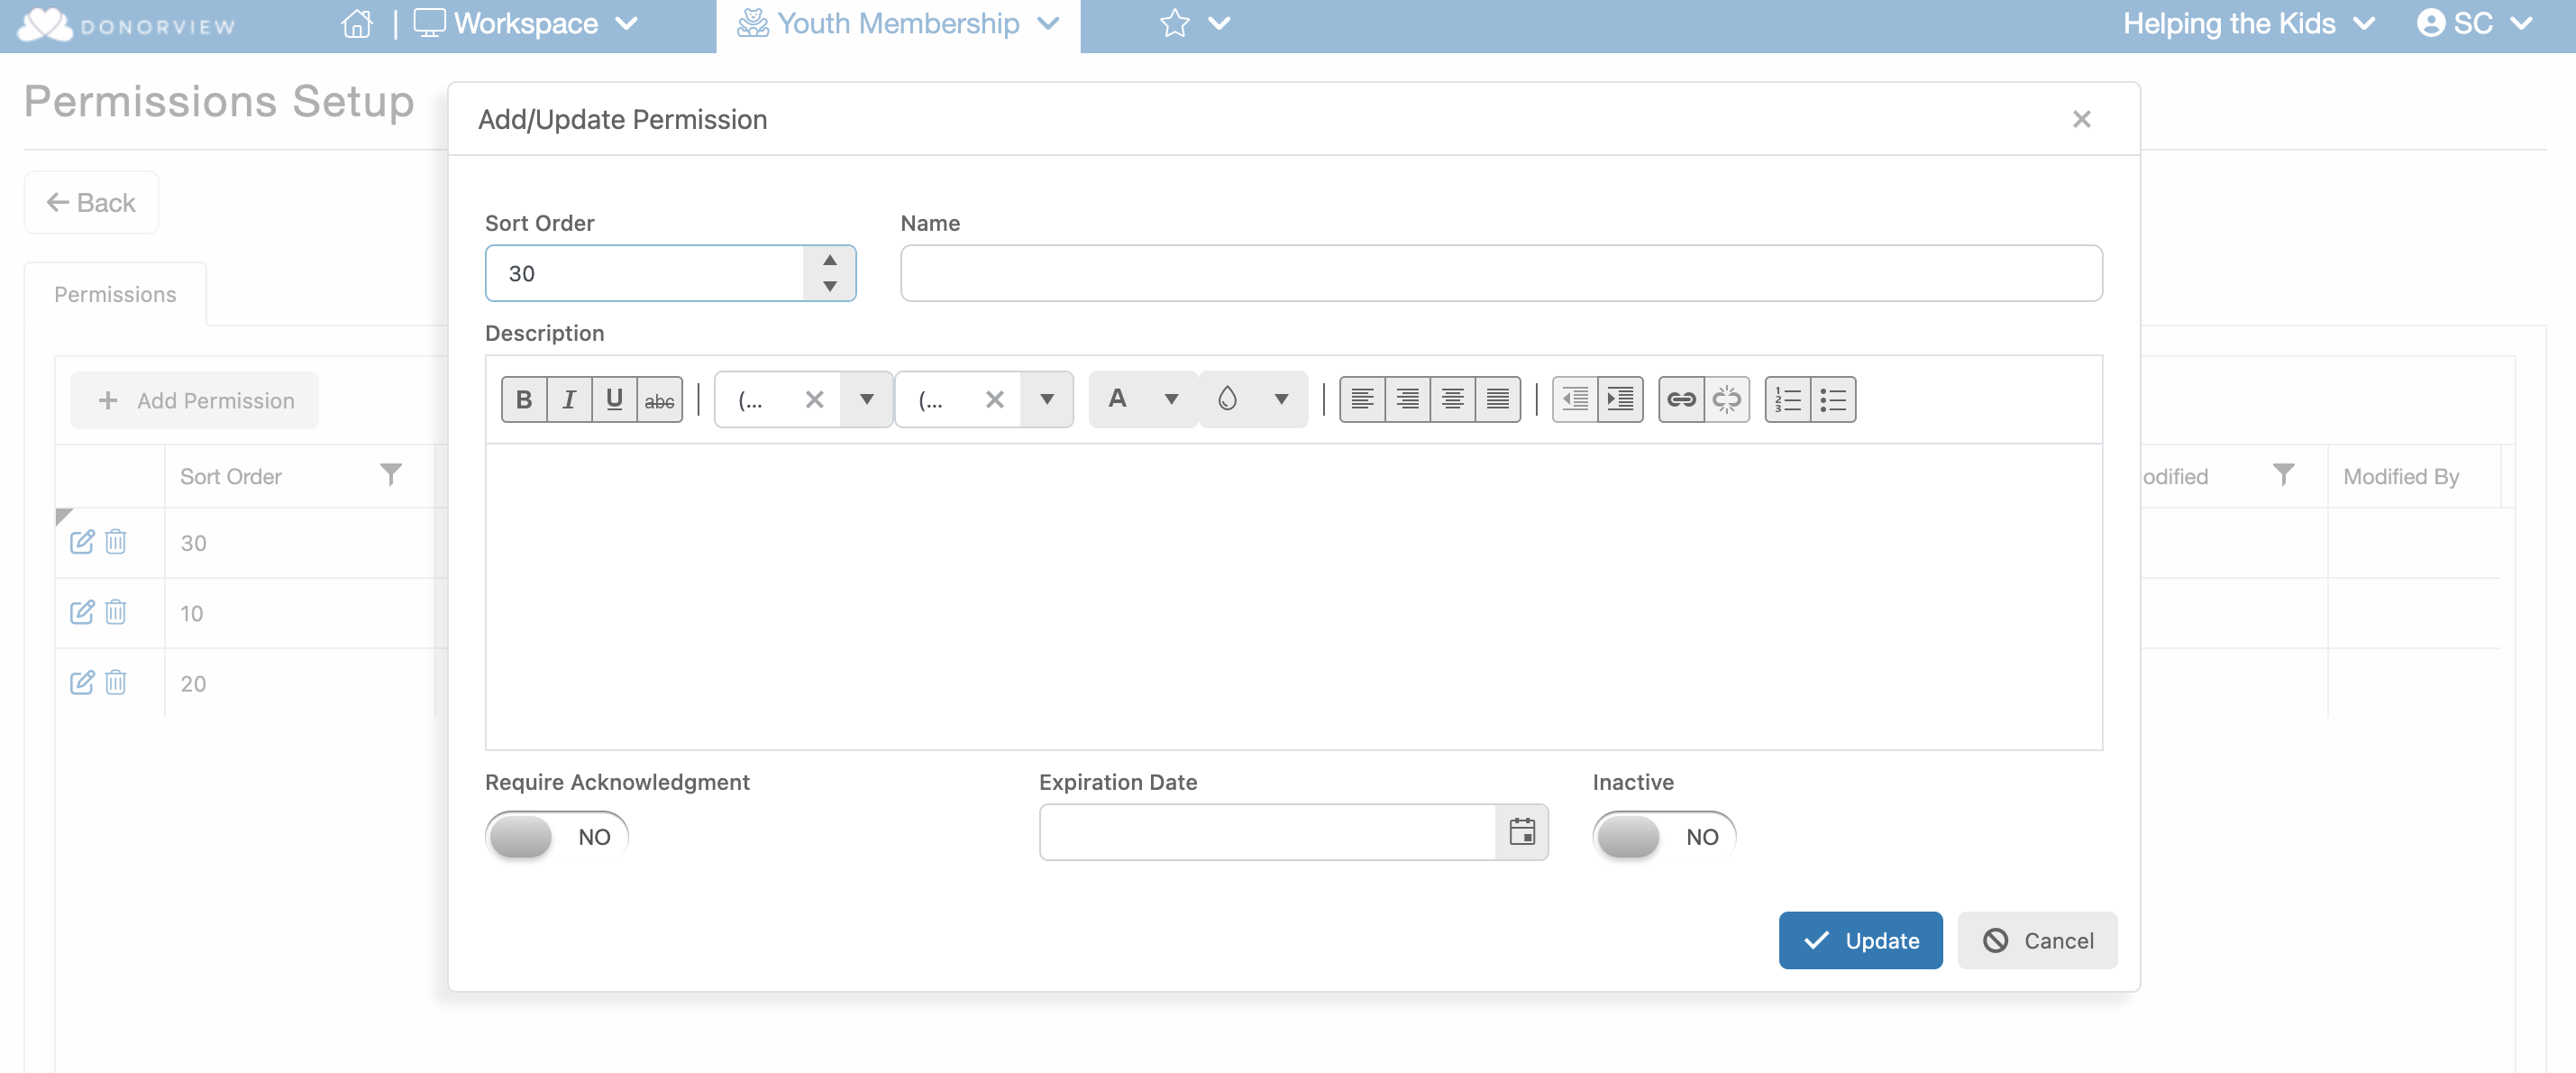 Once all fields have been completed, click the blue **"Update"** button to save the permission, or click **"Cancel"** to discard changes. The new permission will then appear in the grid.
To modify an existing permission, click the pencil/edit icon in the corresponding row. To delete a permission, click the trashcan icon.
**Note:** Deleting a permission will also remove all associated parent/guardian responses.
Once all fields have been completed, click the blue **"Update"** button to save the permission, or click **"Cancel"** to discard changes. The new permission will then appear in the grid.
To modify an existing permission, click the pencil/edit icon in the corresponding row. To delete a permission, click the trashcan icon.
**Note:** Deleting a permission will also remove all associated parent/guardian responses.